
Building a Better Bug Costume, Part 3: Tools and Techniques

Tools
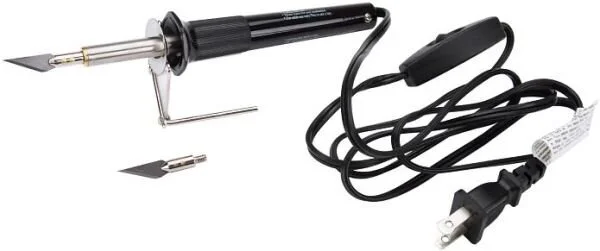
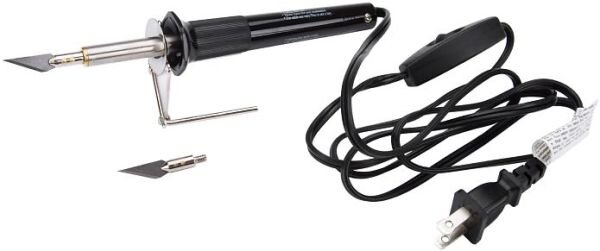
The best tool for cutting this material is a hot knife, which you can find at a hardware store of under $10. If you have a soldering iron, you might be able to find an exacto-knife attachment for it, which would work just as well. I ended up spending a little bit more money (around $30) on a combo wood-burning/soldering toolkit that includes several attachments, including an exacto knife. My thinking was that not only would I use it for cutting, but I could also use some of the other tips to add different textures to the material. You can also find these kinds of tools at craft stores.

For shaping the pieces, I got a basic heat gun for around $15 at the hardware store. This is like a hair dryer on steroids. You want to be careful using this thing, because it can peel the paint off of walls.

I also finally got myself a Dremel rotary tool, and then wondered how I had gone so long without one. It is indeed a handy thing to have. For this project, one of the basic entry-level models will do, as long as it has a sanding or grinding tip. I got a 300 series, which comes with a bunch of attachments, for about $60. So far, I like the variable speed feature of this model. I spent a lot of time experimenting with different tips and speeds, and practicing on scrap pieces of foam until I got the hang of it. If you are not an experienced rotary tool user, then plan on putting in some practice time in with this tool until you are comfortable using it.
Cutting
Before I started cutting pieces out of the foam tiles, I drafted my patterns, and then traced them onto the material (See Part 2). I also placed a cutting mat on my work surface to protect it, and I wore protective gloves in case my hand slipped or something. I did not want bare skin to come in contact with the hot knife blade! Once the knife was preheated, it cut through the foam material like butter.
Sculpting
I also found the hot knife to be useful in shaping and adding some texture to the material. I used it to cut grooves into the material by holding it at a 45 degree angle and only cutting in about halfway deep, and then turning the piece around and mirroring that cut on the other side to form a groove, like so:
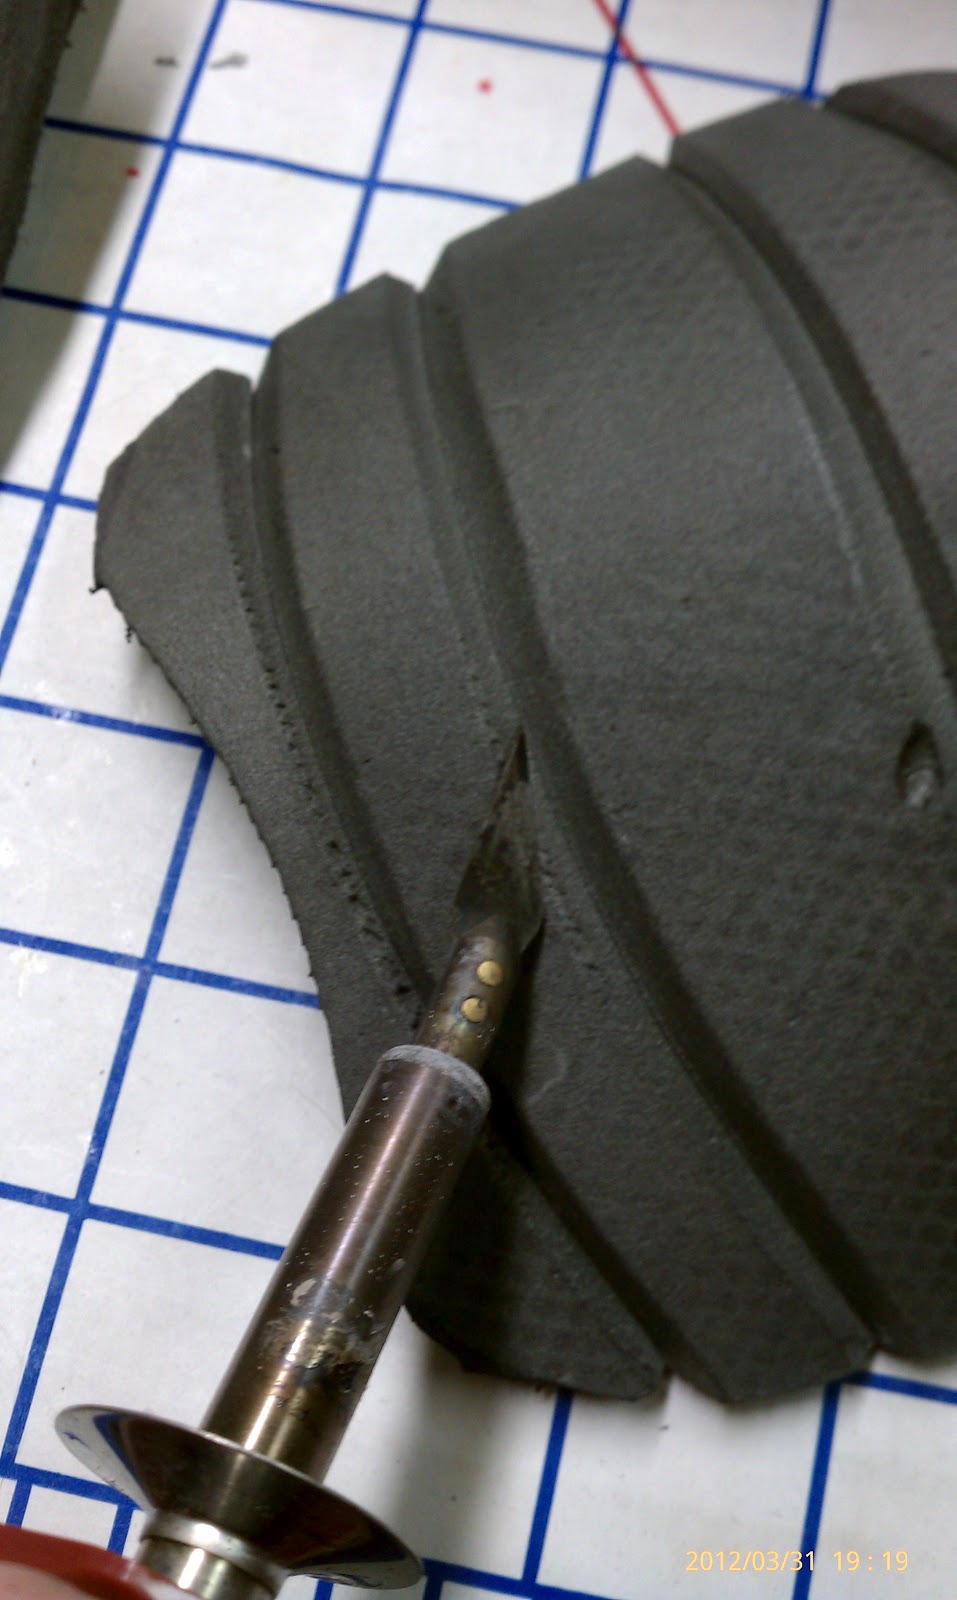

You just have to be careful not to cut all the way through the thickness of the material. I experimented with some of the other wood burning tips to get different textures, like, for example, I used a blunt tip to add little dimples or "pock marks" to the skin.
Shaping
After all the cutting is done, I used the heat gun to shape the flat pieces into curved shapes to go around body parts. As shown in the video tutorial referenced in Part 2, you can easily bend the material into a shape after heating it with the heat gun, and then hold it there until it cools, and it will retain the shape. Just be careful not to over-heat the material, or it will melt!
Smoothing
I want all the edges to be rounded off and organic-looking, and even a bit irregular, so I went over all the hard, cut edges of the foam with the rotary tool to smooth them out. This is where I spent most of time, but the longer you spend on this step, the better it will look.

So here is a batch of pieces after working on them for a couple of days.

Now they are ready for some paint! And that will be Part 4.
Other articles in these series: