Skirmisher Game development - Ragnarok! - The Sonderland War, Part 2!
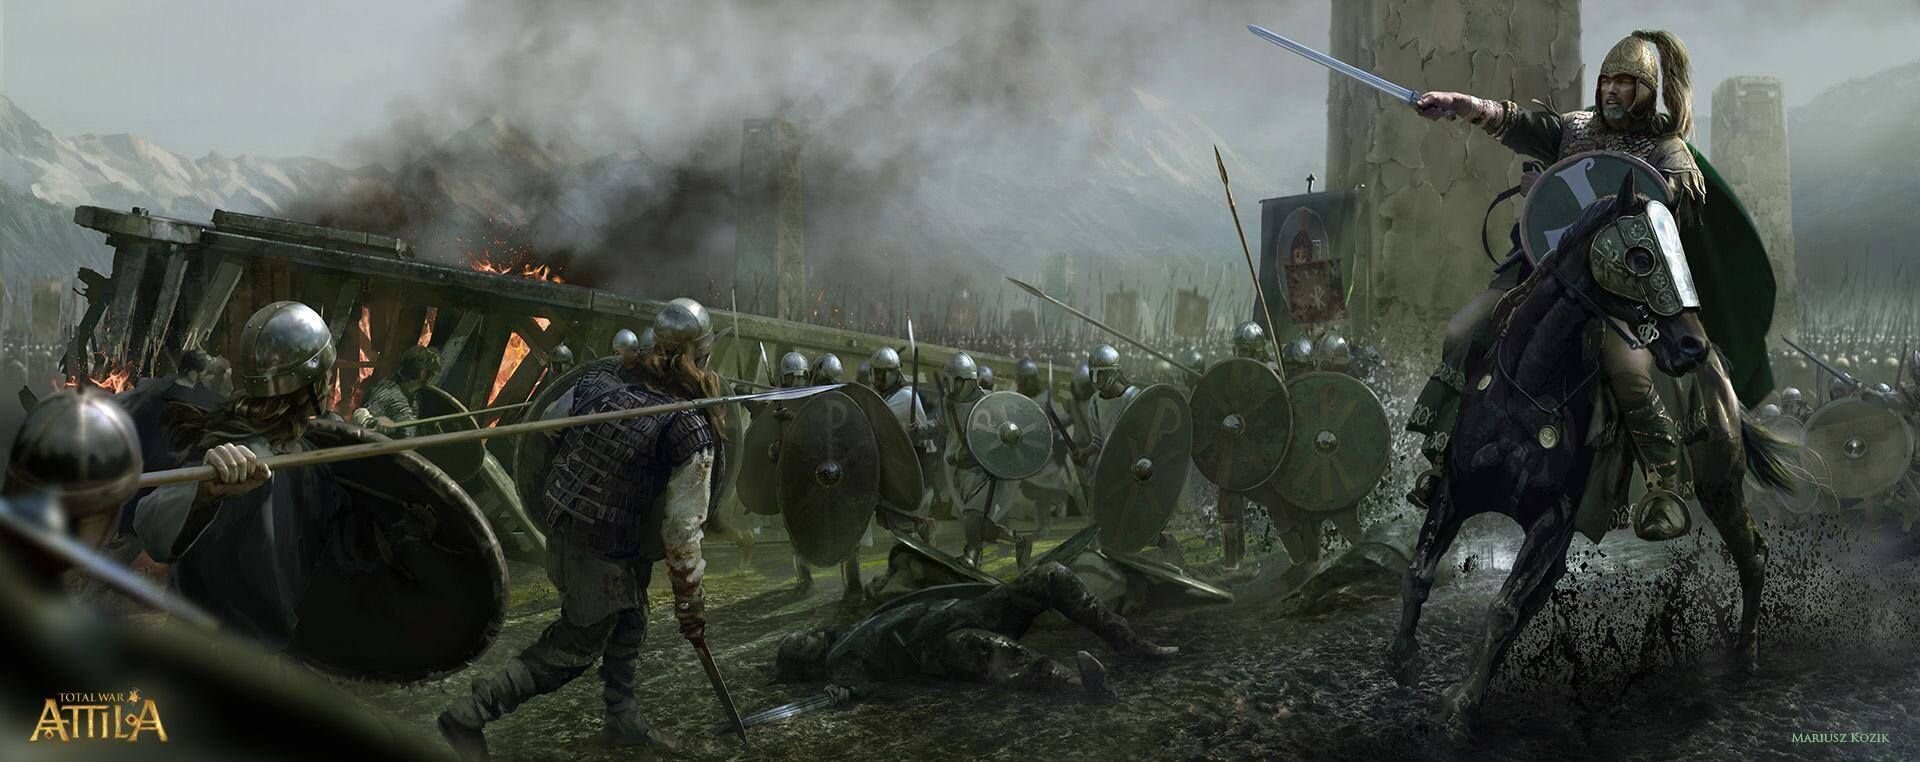
The Sonderland War – Part Two – Ambush at the White Stag!
A while back, I posted about my wife’s Savage North campaign, in which my character Donnan Corag, became involved in a territorial dispute between the local Sonderlanders and a bunch of invading horse nomads from the plains to the east who were riding around, raiding, pillaging and possibly setting up for a long stay. Donnan’s friends had a stake in things locally, so we got involved in the war.
Now, when I say war, it is pretty small scale. We are not talking about thousands of people in set piece battles. But we are talking about scores of them, which translates to dozens on a side – quite a lot more than is manageable for a lot of RPG systems if you want to play it out using rules, rather than narratively. If you read Part One, you might know what we decided to do – we went to the miniatures game that I am working on for Skirmisher publishing – Ragnarok!, for help.
Now, my playtesting for Ragnarok! [which is based on the terrific foundation of Chevauchee] has mostly been with smaller forces, up to about 20 figures on a side. Admittedly, some of them could be giants, trolls, dragons etc, but there were still a lot fewer figures than we were contemplating here. So I was curious, and I admit, a little nervous, about how the game would handle what turned out to be about 120 figures on the table at the same time.
So as not to drag out the suspense too much, I have to say it worked really well, with only a little adaptation – which will find its way into the rules set under changes for larger battles. We played the entire thing through in about 3 hours, from setting up the terrain as well as selecting and arraying figures, all the way to a very conclusive finale.
The Battle:
The preamble to the battle was done via roleplaying rules using the system we play for Savage North – the iteration of Runequest known as Legend, published by Mongoose. The RPG session began with Donnan and his friends riding quickly southward overland to propose alliance to Ana, a displaced Jarless and her household, who were holed up at the White Stag, a fortified inn, situated in an old Imperial station fort. We were eight riders, hoping to avoid attention, move fast and secure an alliance, then return to out northern camp, with the Jarless’s forces coming on behind.
Of course, things happen.
About ten miles into our ride to the White Stag [about halfway], one of the scouts brings word of an attack on the road – Sabir raiders attacking some refugees. We cannot ignore this, even though it probably would have been the smarter thing tactically. So we ride in fast, kill some of the Sabir and scatter the rest, rescuing the farmer and his family. Despite our best efforts, one of the wounded raiders got away, headed north on a fast horse. We couldn’t catch her so we collected our captured horses and war-gear, bound the prisoners into one of the wagons and chivvied the farmer and his wagons south. Two hours later, the White Stag was in sight. Our guess was that a punitive party of Sabir could be on us at any time, but our rear scout proclaimed the road clear for the mile he could see. Still, we hurried to the safety of the stone fortifications of the inn, to find Jarless Ana and her people filling the crowded courtyard.
A quick council had us agreed that the wooded hills surrounding the road to the inn offered excellent ambush possibility. We could strike hard at any raiders following us, and with the Inn at our backs our flank was secure. Further, retreat, if we were outnumbered, was easy. Our scout on the road would give us warning, so we marshaled our forces, set up our ambush and waited to see what the Sabir would send.
That is where we moved from RPG to Ragnarok!
Actually, that is not quite true. The GM got me to make a Warfare Skill check for Donnan, to see how well he read the land and situation, assessed the enemy and our own side’s potential. I roll a 04 on d100, a special success and 1 percent away from a critical success. A lucky stroke for our side.
Since this was part of an RPG session, and I was the only player, I was the de facto general for our side. Donnan was not the commander of the entire affair. However, he and his friends Isabella, Erik and Tullius, did play a significant part of the battle. The honor of in-game command went to Jarless Ana. We got down to setting up the table and gather units together.
I took quite a few pictures, so a lot of what happens henceforth will be describing pictures as the battle unfolds. The text on each numbered panel helps to explain the action.
A couple of things I would like to make clear:
1 - The "road" to which I refer is actually represented by sections of a river, so if it looks a little too blue at times, that's why. I don't have anything to represent a road. Well, I didn't until I casually turned over a river segment after the game to find that they are grey and lumpy like a road on the non-river side. Duh. I have owned that river set for about 15 years without noticing that. Next time.
2 - I appear to have forgotten to take pictures of the last turn of things. The sequence of the battle is clear, but you would have seen the finale - had I only remembered to take pics. My only excuse - It was getting late.
3 - I know, i said a couple of things. But in case you want to play through this battle yourself, You can go over to Part One, download the play cards, read the article for spells and other details, and get yourself a copy of Chevauchee, or D-Infinity Magazine 7, any of which have the rules to play.
4 - Another, nother thing - There is not picture #3. No, I don't know why. Move on.
Aftermath:
To determine the survivors of the battle, we used the rules I did up for the first set of two scenarios for Comicpalooza 2015, which I reprint here. They are nothing amazing, and I will nuance them a bit before publication. Fll free to use them in your own games if you wish. Our outcomes indicated that we had lost some heavy cavalry and a few household infantry, but slain or captured most of the Sabir. We have thus, dealt significant blow to the invasion force, reducing it by roughly 25%.
Option: Survival Rolls (reprinted and altered from D-Infinity Magazine 6)
If desired, the players may roll at the end of Scenario 1, to see which casualties are available to fight in Scenario 2. Any Figure at Zero Wounds, or below, at the end of the battle, may roll for its fate [Roll 1d6]:
- 1-3 – the figure is dead.
- 4-5 – The figure may fight but is recovering. It fights at -1 to hit, and may not charge, but has its full Wound total.
- 6 – figure is shaken up, but was knocked unconscious or otherwise taken out without serious injury. They will recover in time for the next battle.
If an army has a sorcerer with magical healing, is at "Home", or has a dedicated healer, available. They may add +1 to 3 survival rolls for each of these that apply. Players may add more than a single +1 to a particular roll, but only get a total of 3 for each of the above that apply. Thus, a jarl "killed" in the fighting, might be save from death's door even if the player rolled a 1 for the survival roll. This wold require three +1s to raise the jarl's status to a 4, but he is saved.
Now we must capitalize on our success. Which probably means another battle!


